 Image via guitarfail.com
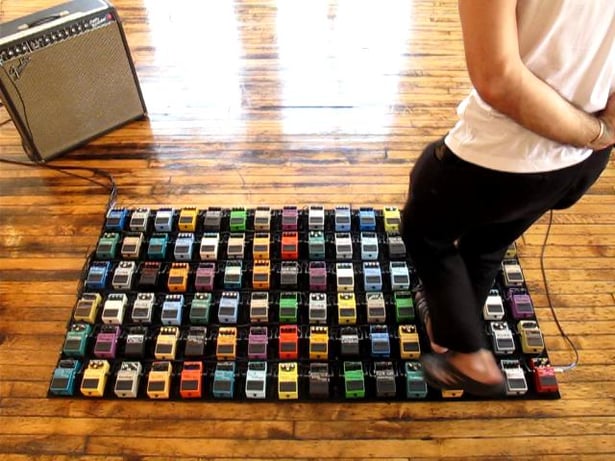
For many guitarists, curating the ultimate collection of pedals to lay before you can be a never-ending pursuit. However, no collection is of any good if there isn't a cohesive and effective way to actually use them. Here's some food for thought when trying to make sense of all your options.
The board design
Pedalboards come in all shapes and sizes – literally. There's a number of great options out there that you can order from a number of manufacturers, and for those of the DIY mindset, the sky is the limit as far as your design options. No matter which route you choose to go, something to physically mount your pedals on, at least semi-permanently, is key for anyone with more than a couple pedals.
For many guitarists, your pedal collection is at least as valuable as your guitar itself, if not more so. You wouldn't let your guitar rattle around at the bottom of some bag or case and then get haphazardly thrown around, so why treat your pedal collection any different? They may be made to take abuse, but that's no reason not to protect your investment.
Having a pedalboard takes one step out of your setup for every show, since you don't have to wire up and lay out a half-dozen pedals. You can also take ergonomics and ease of use into account: angle your pedalboard towards you to make access to all of the switches more convenient, and design the board to nestle into the base of your mic stand. It's all about making life easier and allowing you to focus more on making music.
Cable spaghetti
Another big advantage of designing a purpose-made pedalboard is that you clean up the mess of cables that pedal chains can turn into. Instead of making 12 to 15 connections, simply plug in the power and the in/out of the board, and you're on your way. This will also give your cables better longevity as you won't be plugging, unplugging, and manipulating them day in and day out.
The days of battling wall warts and forgetting how old the batteries in each of the pedals are can be a thing of the past. Many pedalboards have options for mounting a board-wide power supply, and many of these power supplies come with a myriad of options: 9-, 12-, 18-, even 24-volt options, adjustments to "power starve" pedals for those purists who like to be able to mess with every aspect of their rig, and a slew of others.

MIDI and loops
For those with truly massive tonal arsenals, or those who are tone freaks, there are a number of options out there to even further streamline options. MIDI switchers can allow you to control multiple pedals at once, pre-program song changes as "scenes," and ultimately return you to making music instead of tap-dancing. Loop switchers (not to be confused with "loopers," though you can mount those to your board as well) allow you similar options to gang pedals together. They also allow the tone purists concerned about bypassed pedals changing or altering their signal to take pedals out of the signal path when not in use.
The options are almost limitless for customization utilizing these kinds of options, and should not be dismissed for those with exacting or complex needs.
5 quick tips for building your pedalboard
- When in doubt of what size to get, leave some room for expansion, unless you've decided you're never going to add any pedals (said no guitarist ever).
- Keep cable lengths to a minimum. This isn't only a concern for sound quality, but will keep things clean and neat.
- Use quality cables and connectors. Just because you're making many small connections is no reason to skimp. Right-angle plugs will save you space and provide less headaches in the long-term.
- Consider the order carefully. Order is everything, as it will affect everything downstream of it. Experiment with tones before you commit. Are you going to be using an amp with an effect loop? Maybe you need to set some pedals ahead of the amp and some in the loop; leave yourself room to do so easily. The rule of thumb tends to be: compressors and EQs, tone effects (overdrive/distortion), modulation effects (flange, phase, chorus), and then time-based/pan effects (reverb, delay, etc.).
- Most importantly, take your time with the design, and have fun! Pull out some graph paper, consider all your needs, do your research, and really plan things out. This will ultimately save you time and frustration, as this is going to be a quasi-permanent part of your rig. Don't rush it!
For more tips on getting the best sound every time, check out more from our resident "Angry Sound Guy."
Aaron Staniulis is not only a freelance live sound and recording engineer, but also an accomplished musician, singer, and songwriter. He has spent equal time on both sides of the microphone working for and playing alongside everyone from local bar cover bands to major label recording artists, in venues stretching from tens to tens of thousands of people. Having seen both sides at all levels gives him the perfect perspective for shedding light on the "Angry Sound Guy." You can find out more about what he’s up to at aaronstaniulis.com.