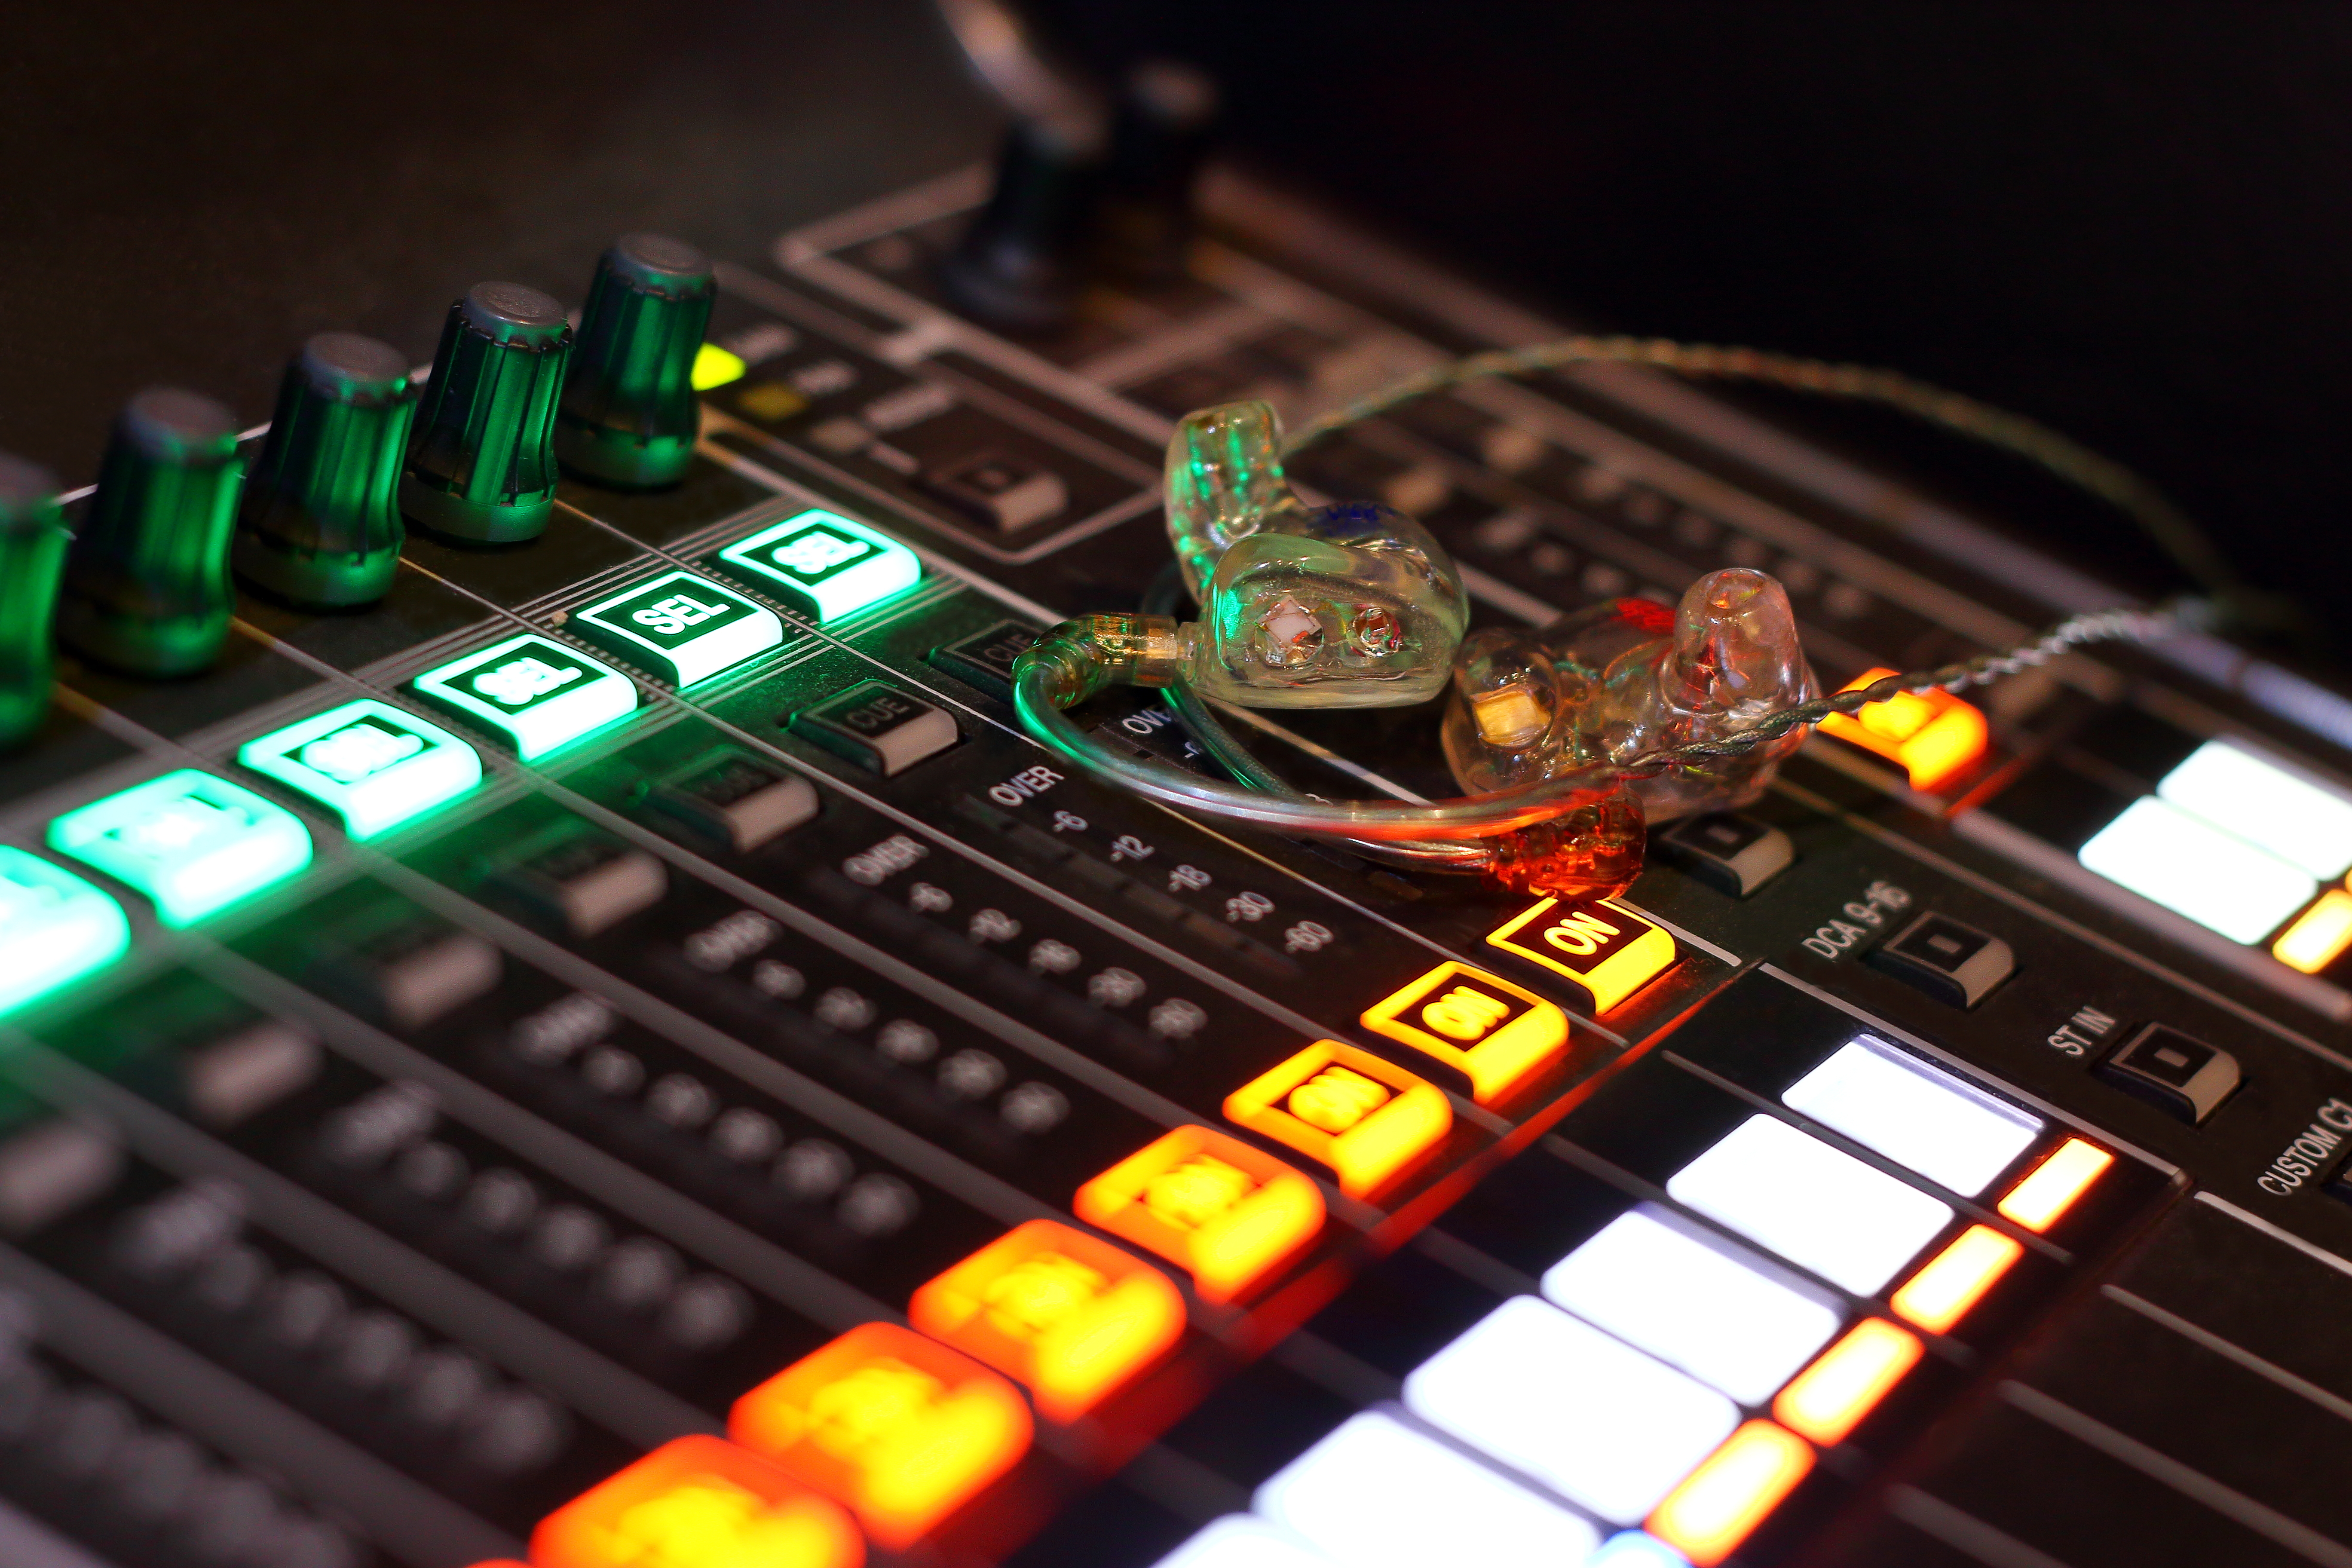
Since their commercial arrival in the mid 1990’s, In-Ear Monitors or “IEM’s” for short, have become nearly ubiquitous with live music on every level. IEM’s are a personal monitoring device discreetly inserted into the inner ear canal, and locked against the grooves of the outer ear. They function to replace stage monitors and wedges, and provide countless other benefits to musicians, especially to those who sing. While ”earbuds” rest on the outer ear and “headphones” encapsulate the ears, the airtight seal created by IEM’s provides an extremely clear image and cancels noise. Need more convincing?
- More clarity and less hearing loss.
- Freedom of movement on stage, improving performance and stage presence.
- Prevents bleed from stage monitors and wedges
- A necessity when running playback, tracks and playing to a click.
IEM’s are also a powerful tool in the recording studio.The problem is… a lot of musicians don’t understand just HOW powerful their IEM’s can be. In this article, we’ll look at five easy tips to dial in the PERFECT ear mix, and get the most out of your IEM’s.
Use the Right Set of Ears
To quote my high school gym teacher, “don’t play baseball when you’re playing basketball”. IEM’s exist in myriad configurations specifically designed for different players and purposes. All the EQ and leveling in the world won’t fix having the wrong tool for the job.
- Each set of ears contain different “drivers”. Drivers function much like speakers in that they are a conduit for amplifying the electronic signal received by the in ears and transferred to your ears.
- More drivers aren’t always better. However, the more drivers your in-ears have, the more dedicated frequency bands can be assigned to separate drivers.
- Some drivers will focus on the low-end, some the mid-range, and others the high-end etc.
- Larger drivers have more low-end power. This is especially useful for drummers and bass players, who often need clear low and lower-mid range frequencies, a feature often omitted in monitors designed for singers and guitarists.
Anything from three to ten drivers is most common, with some top-tier IEM’s boasting upwards of 18 drivers. If you haven’t purchased your IEM’s yet, or want to upgrade, do your research. Most brands offer easy recommendations based on your instrument, and specific needs.
Start With Levels
You should treat your in-ear mix just like any other mix, starting with basic levels. Before adding any EQ or panning, levels can fix a lot of problems. I like to start with kick, snare, and vocals, then gradually dial in the rest of my mix, including myself last, or just before the tracks.
- Try not to start with yourself. It’s easy to blast your own instrument or voice and destroy the mix as the rest of the band competes.
- It’s important to move around on stage to gauge the level of any bleed from acoustic instruments like drums or amp cabinets on stage.
- Some in-ears contain ambient holes to allow stage noise to filter in. You may require less of an instrument in your ears if you’re getting enough ambient noise on stage. Other times, the drummer or bass cab are just so loud you don’t need as much of them in your ears.
You’ll also want to compensate for any level lost due to bleed, when moving around on stage. This is especially important for vocalists who may rely on the drummer or guitarist to keep time. If you don’t have enough in your ears due to stage volume, and move too far stage left or right, the levels may change by a surprising amount, affecting the performance. When dialing in your initial mix, make sure you use all of the space to get a complete picture of how the sound may change during performance.
One last tip! While it’s easy to say, “I need more guitar, less bass etc.”, while violently jabbing your finger up or down toward the monitor engineer, learning to communicate using decibels or “db” instead is a show of respect, competency AND helps you get a more accurate mix.
“Can we bring the vocals down by -3db? Thanks!”
Panning
Panning can help bring your mix to life and put it into context. The option for a stereo mix may not always be available at certain clubs or gigs, where the venue or theater may be short on available channels. When you do have the ability, trying panning after levels and before adding EQ to create space, naturally.
A few ways to use panning are:
- Pan instruments as they are arranged from the stage, to more fully reproduce the feeling of an on-stage mix.
- To recreate the stereo image from the house and connect with the audience, try arranging the instruments as they would appear L to R out-front.
- To more clearly differentiate mid-range and high frequency instruments from a click track, try panning the click track opposite guitars, vocals or tracks.
- Split guitars between the L and R channels.
- Place drums or vocals in the center.
- Create a space on-stage for “direct”, electronic, or software instruments, giving them some life in your mix.
EQ
Once you’re happy with the overall level and stereo image of each instrument, you can use EQ to glue your mix together. The best part is, EQ in your ears does NOT affect the sound of instruments in the house. Therefore, you can create space in your ear mix without affecting the front-of-house mix.
How can we take advantage of this?
- Use high-pass (HPF) and low-pass (LPF) filters to remove undesirable amounts of low end or high end from an instrument. If the bass is sounding just right on stage but sounds muddy with the kick or tracks in your ears, you can put a HPF around 100-150 Hz to give the kick drum some room to cut through.
- Cut between 3-5 kHz on guitars to reduce harshness. These are the frequencies that are most painful to the human ear, and while some of these frequencies can sound good in a complete front of house mix, they can really make you grind your teeth if they’re pumped straight into your ear drums.
- If you’re missing warmth out of the snare, vocals or guitars, try boosting the low-mids between 250-500 Hz.
- If something sounds dark or lacks presence, you can add some punch around 2-5 kHz (for bass or bass synths) or 8-10 kHz (for guitars, vocals, kick drum and keyboards).
- A small boost at 10 kHz specifically will add attack to the kick, while a boost at 1.5 kHz will give you more of the “beater”.
- Bass guitars don’t produce many overtones over 5 kHz, and you can LPF everything above 5 kHz to make room for female vocals, tracks or guitars.
For all of the above, you’ll want to start with small increments of +/- 1 to +/-3 db when making adjustments, and go from there.
Other Uses for IEM’s
Your IEM’s can do more than just monitor audio, they can act as a virtual assistant during performance and rehearsal. Here are a few ideas:
- Use “silent count-ins” on monitor tracks to tighten up your live performance, eliminating the need for stick clicks, a count off on the hi-hats or clumsy transitions.
- Add a reference vocal in places where a singer may need a guide for starting a song or changing keys.
- Use “cues” in-between songs to replace a traditional setlist, or to help with learning new arrangements quickly. This is especially useful for worship bands.
IEM Care
I’ll never forget the first time I thought my ears were broken on tour, only to find out they were FILLED with wax. Your in-ears spend a lot of time in there, and they can get dirty quickly. To increase the life-expectancy of your IEM’s and prevent any muffling, distortion or outright loss of sound, make sure to use the attached cleaning tool regularly, or bring one of these handy IEM vacuums on your next tour…
Everyone’s in-ear needs are different, but applying basic techniques like the above will make a night and day difference in the quality of your mix, performance and musicianship.
And one last tip… ALWAYS HAVE A BACKUP.