 All images via performermag.com
This article originally appeared on Performer Magazine.
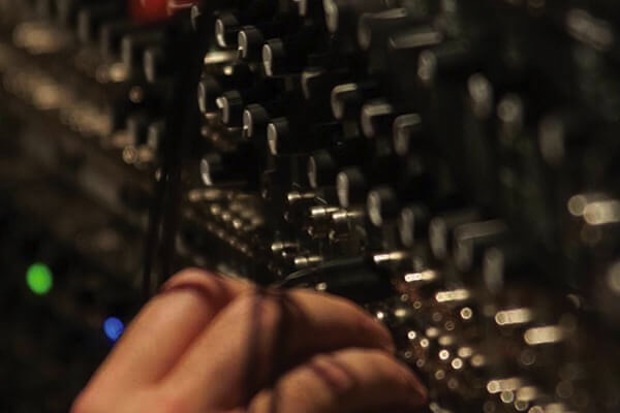
So you want to build a home studio? I own Night Train Studios in Westford, MA, a 1,000-square-foot recording studio that I built in 2003 (that’s a 12' x 15' control room, 12' x 18' iso room A, 12' x 10' iso room B, 6' x 10' iso room C, 4' x 6' iso booth D, and a 9' x 12' lounge). It's in the walkout basement of a 40' x 25' addition I built on my home. I've had lots of musicians ask me after recording in my studio, "How much would it cost me to build one of these in my basement?" As a licensed building contractor, I've learned to never answer that question too quickly, because the first number you give sticks in people's heads. But here are some ideas to be thinking about as you plan your dream home studio.
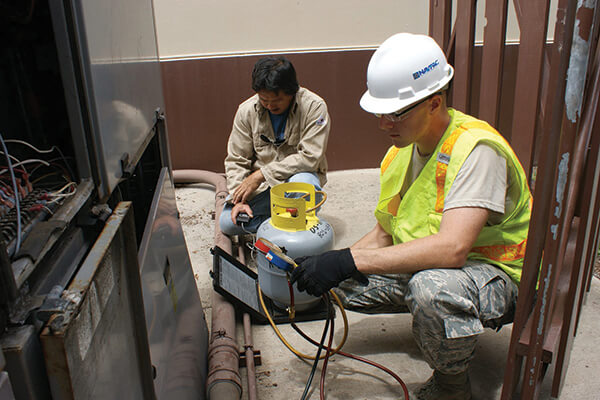
Heating and cooling
Just like other rooms in your house, your studio will need heat in the winter and probably air conditioning in the summer (an uncomfortable musician is not a happy musician). Your control room, especially, is going to heat up quickly with all the gear and people coming in and out, so you'll at least want to plan for air conditioning in that room. If you're building in a garage or detached building, you might get away with air conditioners in the windows in the summer, but you'll still need to heat the spaces. Can you zone off of your existing HVAC system, or will it need its own system? Can you get away with electric baseboard heat? Consulting with licensed plumbers and HVAC experts is a smart idea. In my studio, I was able to create a zone off one of my existing forced air systems so that I could get heat and AC without needing a new furnace/compressor. To reduce airflow noise, I used flexible insulated duct that runs to each room in the studio. (Remember, you'll need a supply and a return duct for each room, and that can take up quite a bit of space – so plan accordingly.)
Lighting and electrical
You'll probably want to run a sub-panel off of your existing main electrical panel; in my case I ran a 60-amp sub panel off my 200-amp main panel. You'll need at least one 15-amp circuit for outlets to power computers, guitar amps, outboard gear, etc. (I suggest two to 20 amp circuits for this.) Make a list of all the gear you have (and plan on acquiring down the road) and estimate the wattage each one uses. Don't forget that musicians will be bringing in their own gear (and that sometimes means big amps that draw a lot of power). Each amp in your circuit generally equals 100 watts of available power, so a 15-amp circuit can handle about 1,500 watts before it becomes overloaded. I also would try to keep your new electrical wiring at least 12" away from audio lines that you may be running in the walls and ceiling. If electrical lines do have to cross audio lines, have them cross at 90-degree angles to reduce interference.
Lighting should be on its own circuits. A rule of thumb for old-school lightbulbs was three watts per square foot, but things are changing fast, with new CFL and LED bulbs reducing lighting wattage drastically. Whatever you do, make sure you plan to have plenty of light. I recommend having at least a couple of different lighting options for each space (wall sconces, track, switchable lamps, recessed), each with its own switch. That way you can adjust for different moods easily. In many states, homeowners can do their own electrical work (which will be inspected by the local electrical inspector – once before you close the walls and then at final inspection). There are many good books available for do-it-yourselfers, and I recommend The Complete Guide to Home Wiring from Black & Decker. Hiring a professional to do the job is always a smart idea if you aren't sure you're up to the task.
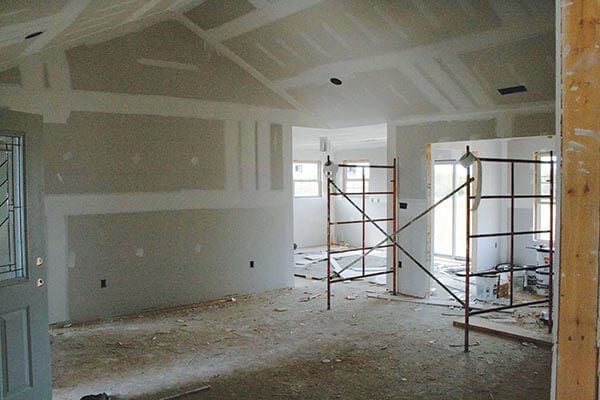
Framing and wall/floor covering
Whenever possible, you want to minimize parallel walls in your studio. So unlike regular construction where everything is square, you want to try (if possible) to have at least one wall in each room at a slight (seven degrees or more) angle. In my control room, one wall is elliptical, which looks and sounds great (but was very difficult to build, so I don’t recommend it unless you enjoy wetting sheetrock to get it to bend).
You want to separate your control room sonically from the room(s) that will have the musicians tracking in them. To do this you want to create "dead air" cavities. One way to do this is to frame your walls using 2" x 6" floor and ceiling plates and stagger the studs so that when air pressure moves the sheetrock on one side, it doesn't directly move the sheetrock on the other. Another way is to build a wall like you normally would and then after you sheetrock, build another wall half an inch away (of course, you'll only be able to get sheetrock on three of the four sides). In my case, I built double walls and also doubled the sheetrock, so there are two and a half inches of sheetrock and seven and a half inches of dead space between the control room and the iso booths. The drummer can be rocking out, but in the control room, it sounds like he's down the block. Of course, you'll want to use fiberglass insulation in all the walls and ceiling cavities.
Will you need to see the talent tracking in the iso rooms? If so, you'll need windows – two double-glazed panels installed parallel to each other works well. And if your talent needs to see each other in different iso rooms, you'll need sliding glass doors. Plan sight lines very carefully. Also, the higher the ceilings, the better – nine feet is nice, and try not to go lower than eight if you can; there's nothing worse than low ceilings. If you're building in a basement, keeping sound from going up and keeping footsteps above from echoing down into your studio is hard to avoid.
Plan on doubling the ceiling sheetrock with acoustic clips in between, so that the two sheets are not rigidly attached to one another. Sheetrock walls and ceilings do not generally sound very good, so you'll want to apply carpeting and other acoustic treatments (hanging tapestries or "acoustic clouds," for instance) to certain sections. You can build simple acoustic wall and ceiling treatments by making wood frames, filled with fiberglass insulation and wrapped in a nice fabric. Some floor areas can be carpeted, but it's nice to have some wood floor to give a room a "live" sound – you can always add throw rugs to adjust the amount of liveliness. Again, if any of this sounds out of your league, plan on bringing in a professional to help.
Permits
In most states, you'll need to submit your plans to the local building department for approval for any type of major renovation (read: permit fees and inspections). If your plans involve building walls, hanging doors, running electrical and HVAC, and you aren't a do-it-yourselfer, then I'd recommend bringing in professionals. Work that would take a hobbyist months can be accomplished in just weeks by professional tradesmen. Building my 1,000-square-foot, six-room recording studio took me about five months, and I'm a licensed builder!
Choosing gear
The first question you need to answer before you head off to the store is, "What will my typical tracking arrangement be?" Will you be recording traditional rock bands, string quartets, singer/songwriters, or all of the above? You should determine how many channels you will need to record simultaneously. If it's a typical rock band, then 16 channels should do. If you're recording 13-piece funk bands, then you'll either need more channels, or you'll want to break up the tracking sessions into rhythm sessions, horn overdub sessions, and vocal overdub sessions.
A digital mixer will be one of your more expensive purchases – I recommend buying one that has built-in compression so you don't need racks of outboard compressors. The mixer will either directly plug into your DAW via FireWire/USB, or you'll need to purchase an audio interface to go between the mixer and the computer. If this is all foreign to you, then talk to a professional; things are changing fast in this area. Working with a pro audio sales person or a studio owner can save you lots of headaches.
Microphones
Depending on what kinds of musicians you're planning to record, you'll need microphones, and lucky you – the days when only super expensive microphones would do are over. Now there are dozens of high-quality microphones well within reach. The only problem is that you'll need at least as many microphones as the channels on your mixer – and each microphone has its own purpose. Large-diaphragm condenser mics (usually some of the most expensive) will handle tasks like vocals, acoustic guitars, and horns.
Small diaphragm condensers are well-suited for drum room overheads, acoustic guitars, and strings. Dynamic microphones will be the workhorses for drums and guitar amps. In addition to the mics, you'll need to budget for high-quality XLR cables (I recommend getting different colors so that mic’ing drums is easier) – 20 feet is a good length. You'll also need a plethora of different kinds of mic stands – some for singers, some for mic'ing amps, drums, etc. I recommend getting specialized, clip-on mic holders for drums; otherwise, you might have a difficult time with mic placement on the kit.
[9 Mics Under $500 That Sound Incredibly High-End]
Headphones
You'll need a range of quality headphones and a headphone amp with multiple outputs and inputs so that each musician can hear while tracking and overdubbing. Drummers tend to do well with closed-cup phones, while many singers prefer open ones. Budget at least $100 per pair and try to mix it up so that you don't have six pairs all the same. I use aux sends from the mixer to give each musician his/her own headphone mix. I can't stress this enough – all the gear in the world is useless if the musicians aren't getting really good headphone mixes, so don't skimp on this step.
[3 of the Best Headphones Under $200 for Musicians on a Budget]
Wiring, monitors, software
All the wiring for the microphone inputs and headphones should be wired in the wall with jacks in each room to make connections. The cost of these specialized XLR and 1/4" TRS outlets, as well as the shielded audio cable, can add up quickly and take some fine wiring and soldering skills. You'll need a good set of monitor speakers that you'll want to mount with adjustable mounting brackets to the walls near where you'll be mixing. The type of audio software for your DAW first depends on whether you are going to be MAC or PC based, and then on preference and budget. You can spend as little as a few hundred bucks on professional DAW, but don't forget about additional plugins for reverb, compression, soft synths, etc. Even if your software comes with most of what you need to get started right out of the box, it won't be long before you'll want drum loops, better sounding strings, and other plugins. Budget accordingly.
Where to shop
I love shopping online at stores like Musician's Friend and Sweetwater. There, you can read reviews and compare prices while wearing your pajamas. eBay and Craigslist are great resources for cheap gear, especially if you know what you're looking for. Used gear is a great way to get more bang for your buck, and well-maintained microphones or monitor speakers can be found at a fraction of the cost of new gear. Realize that you'll be learning what works best for your studio as you begin working in it. Often what seems like a necessity at first turns out to be something that sits unused in the mic closet. Start as small as you can and expand as you learn what works best for you. Don't believe all the hype you read about every product – some gear has earned its reputation in the industry, but much is marketing glitz. Read recording forums and reviews and talk to other professionals whenever possible to glean gear tips and recommendations.
Furniture
Make sure you budget for at least one comfy couch and some durable desk chairs. As engineer/producer, you'll be spending a lot of time on your butt. The band will also be spending much of their time bothering you in the control room. It's best if you keep them as far back from your workspace as possible, preferably nodding off in comfy couches rather than leaning over your shoulder, second-guessing your every mouse click. Just kidding, guys.
Insurance
Will you need insurance? Yes – bad things happen, and you'll sleep much better knowing that if something goes wrong (like a break-in or a flood), you're covered. Usually you can add the studio equipment as a rider on your existing homeowner policy. Remember, you're going to have expensive equipment in your home studio. Depending on where you live, a security system and additional locks could prevent a thief from taking off with all your hard-earned gear.
Final thoughts
I worked for many years in studios in Boston and LA, and I made note of the things I liked and the things I didn't. We'd all like huge rooms to work with, but few of us have the luxury of huge Abbey Road-style halls to work with. Set up a drum set in a small office, and see what makes it too tight. Is it better in the bedroom where there are two more feet on one side? I have four iso rooms in my studio, but we generally only use two rooms for 90 percent of the work we do (and my tiny iso booth hardly gets used at all). Could you live with two bigger iso rooms instead of three small ones? Could you have one big iso room and use gobos to divide the drums from the guitars? My biggest advice would be to visit some studios first and pick their owners' brains to help you figure out what you need and what you don't in your dream home studio.
And as you finalize your studio, keep in mind that you and your artists should be as comfortable and relaxed as possible. The studio space should incorporate colors, artwork, lighting, and design to maximize creativity and reduce stress. Recording is a science, but it's also an art and should be fun. Good luck on your quest for a dream studio!
Learn more about creating your own studio:
- How to Soundproof Your Home Studio or Rehearsal Space Like a Pro
- How to Build an Incredibly Effective Home Studio for Under $800
- Sound Treatment Basics: How to Get a Professional Sound in Your Home Studio
Zac Cataldo is a musician and owner/producer at Night Train Studios, a recording studio in Westford, MA. He is also co-owner of Black Cloud Productions, a music publishing company. Reach him at zac@nighttrainstudios.com.